Dollhouse Renovation
I purchased this Ikea dollhouse at the Golden Nugget Flea Market in October 2025. They asked for fifteen dollars, but I only had a ten dollar bill in my wallet. Luckily, the man at this booth accepted that and we made a deal. It was covered in crayon and pencil marks and other unidentifiable scuffs. Safe to assume it had been well loved. I took a magic eraser and some warm water to which cleaned it up nicely.
Lorem ipsum dolor sit amet consectetur adipiscing elit. Quisque faucibus ex sapien vitae pellentesque sem placerat. In id cursus mi pretium tellus duis convallis. Tempus leo eu aenean sed diam urna tempor. Pulvinar vivamus fringilla lacus nec metus bibendum egestas.
Lorem ipsum dolor sit amet consectetur adipiscing elit. Quisque faucibus ex sapien vitae pellentesque sem placerat. In id cursus mi pretium tellus duis convallis. Tempus leo eu aenean sed diam urna tempor. Pulvinar vivamus fringilla lacus nec metus bibendum egestas.
Shortly after bringing the dollhouse home,
all cleaned up.
I cut a piece of an old wooden wine crate to create the third floor.
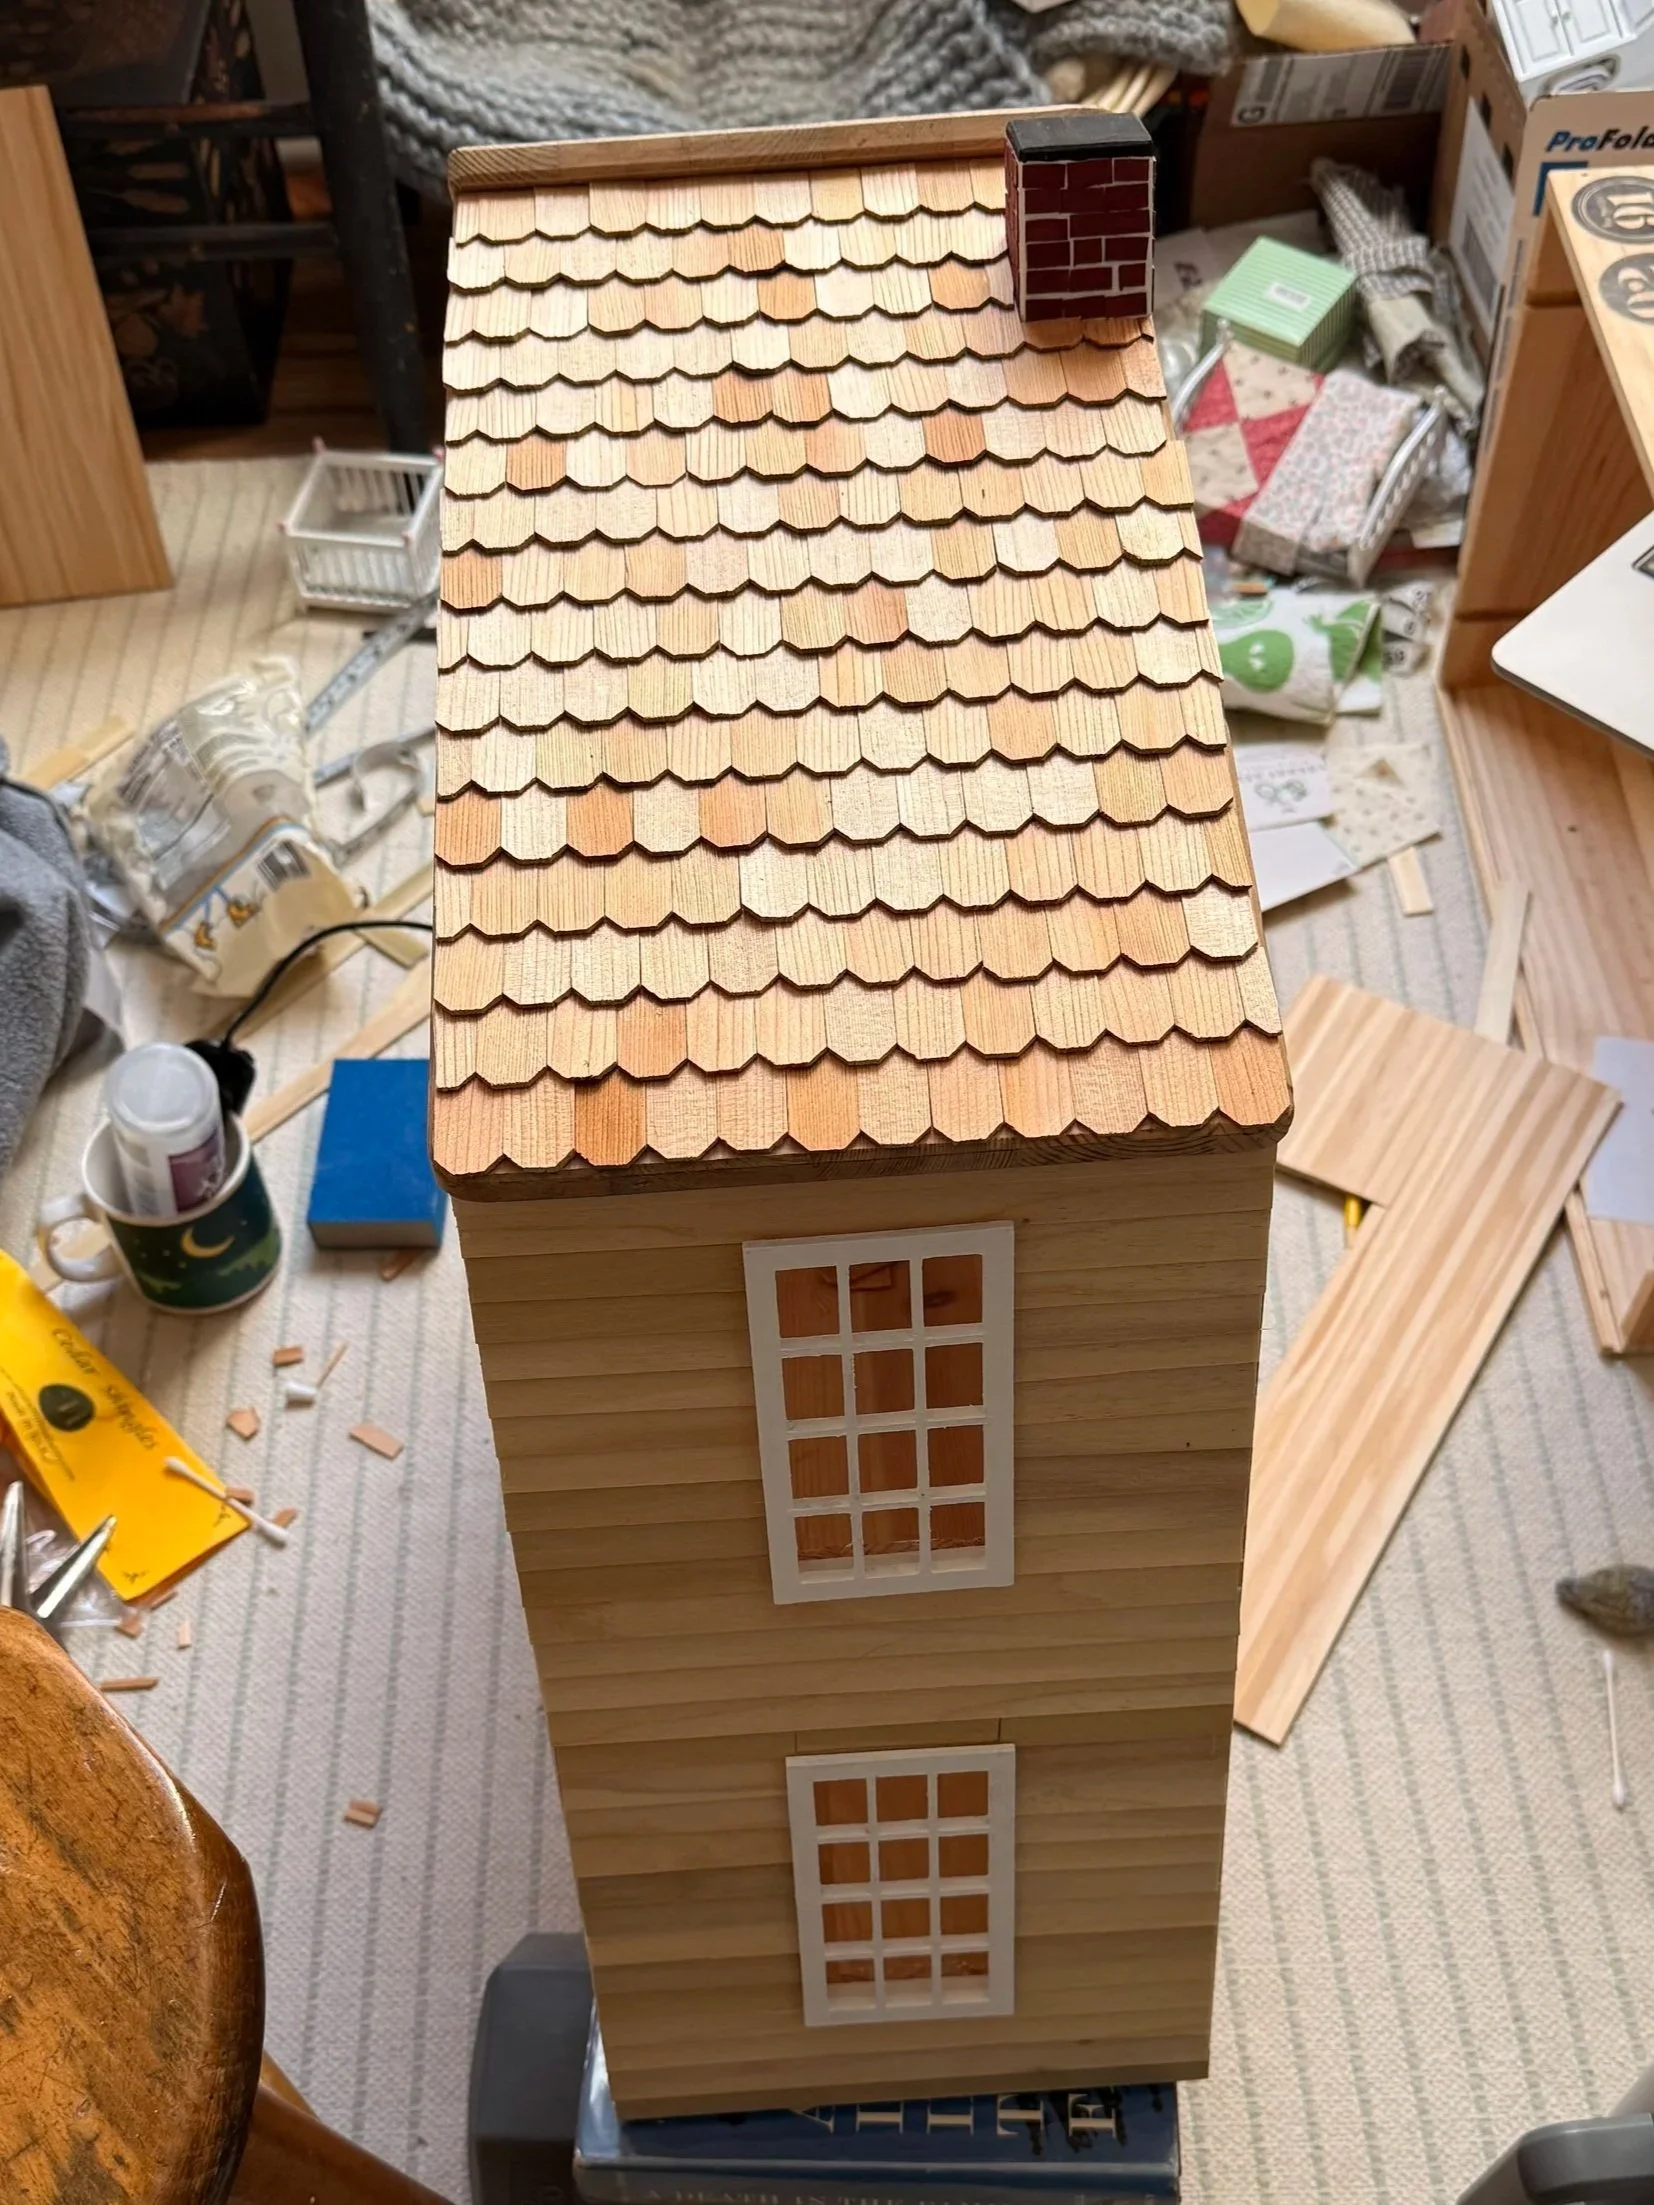
The windows were cut out with a jigsaw, and I primed the walls with white paint.
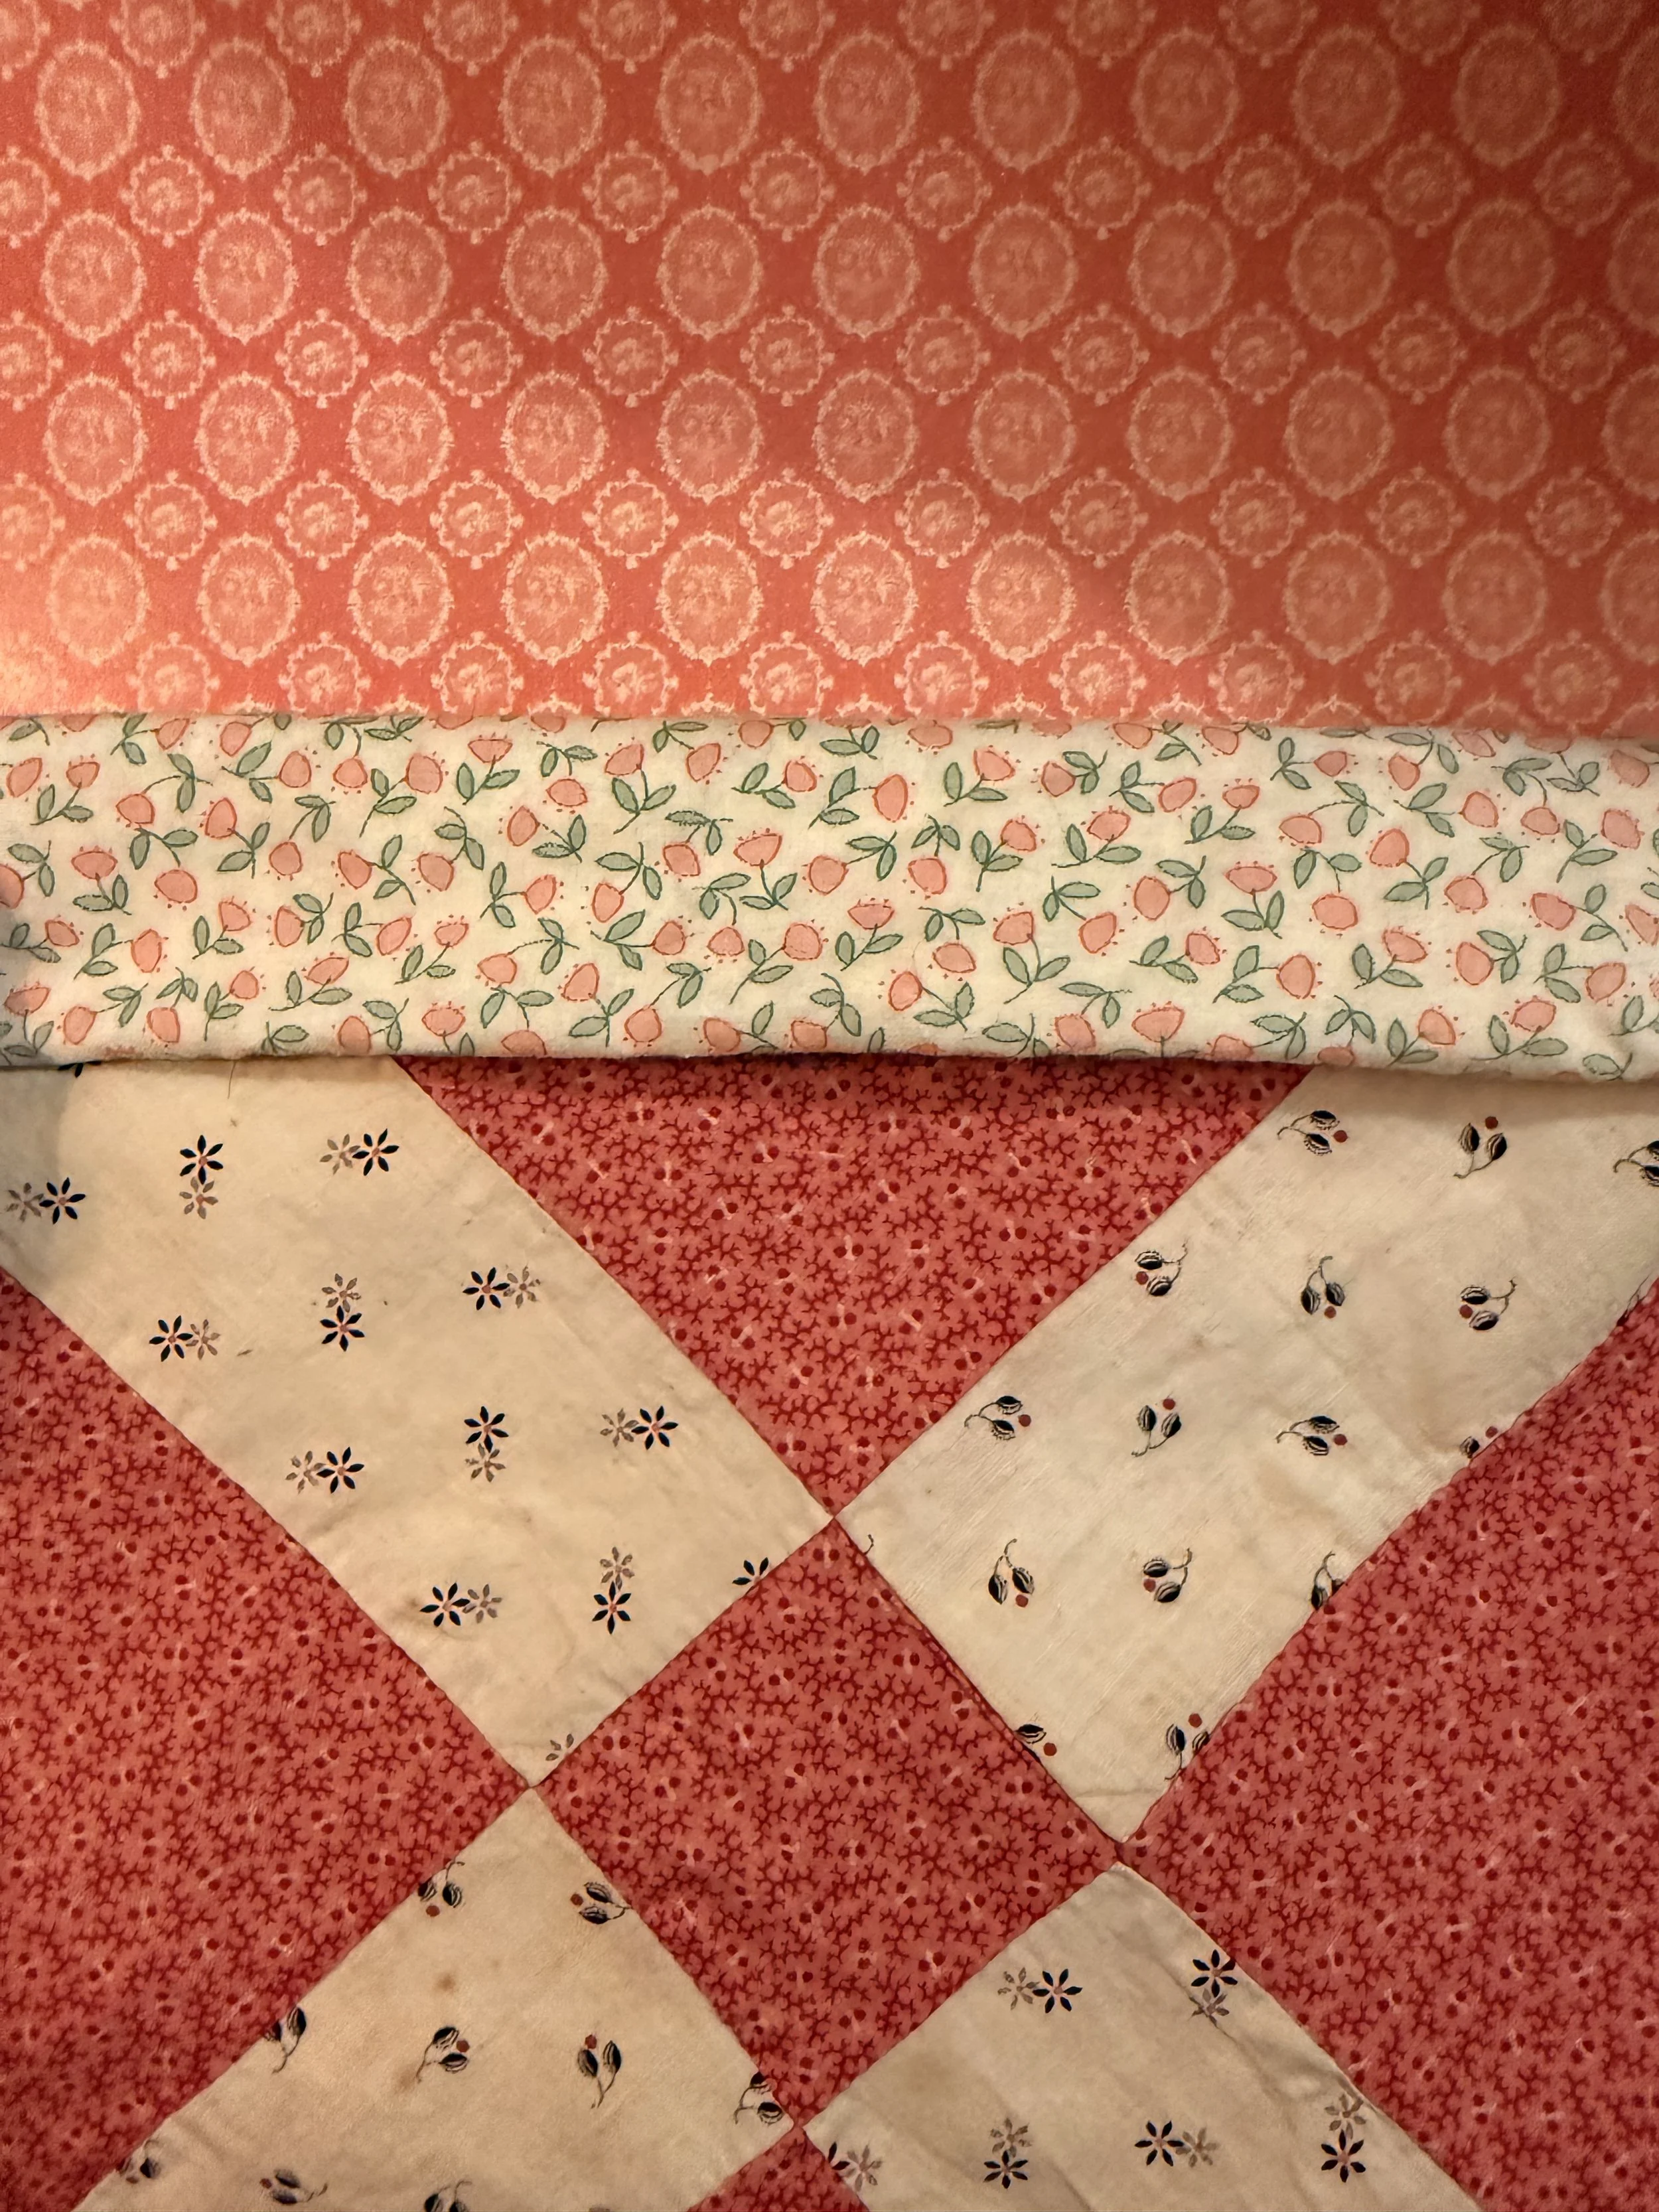
Wallpaper and flooring, color
layout to evoke moodboard, swatches
Thread, glue & tape
Lorem ipsum dolor sit amet consectetur adipiscing elit. Quisque faucibus ex sapien vitae pellentesque sem placerat. In id cursus mi pretium tellus duis convallis. Tempus leo eu aenean sed diam urna tempor. Pulvinar vivamus fringilla lacus nec metus bibendum egestas. Iaculis massa nisl malesuada lacinia integer nunc posuere. Ut hendrerit semper vel class aptent taciti sociosqu. Ad litora torquent per conubia nostra inceptos himenaeos.
Lorem ipsum dolor sit amet consectetur adipiscing elit. Quisque faucibus ex sapien vitae pellentesque sem placerat. In id cursus mi pretium tellus duis convallis. Tempus leo eu aenean sed diam urna tempor. Pulvinar vivamus fringilla lacus nec metus bibendum egestas. Iaculis massa nisl malesuada lacinia integer nunc posuere. Ut hendrerit semper vel class aptent taciti sociosqu. Ad litora torquent per conubia nostra inceptos himenaeos.
I made the armchair on the day that I completed the house. I consturcted it out of cardboard and used super glue to hold it together. I wrapped the cardboard with tissue to create an upholstered look and then wrapped the fabric around the form, securing it all with tacky glue. The throw pillow was sewn and stuffed with tissue.
The quilt for the bed was made from an old quilt square that I found at a salvage store years ago (along with the rest of the fabric that I used in this project.) The quilt and pillows were sewn, and the pillows stuffed with tissue.
The bed frame is from Michaels. Unfortunately not pictured, but I wrapped the piece of foam that came on the bed with fabric as well.
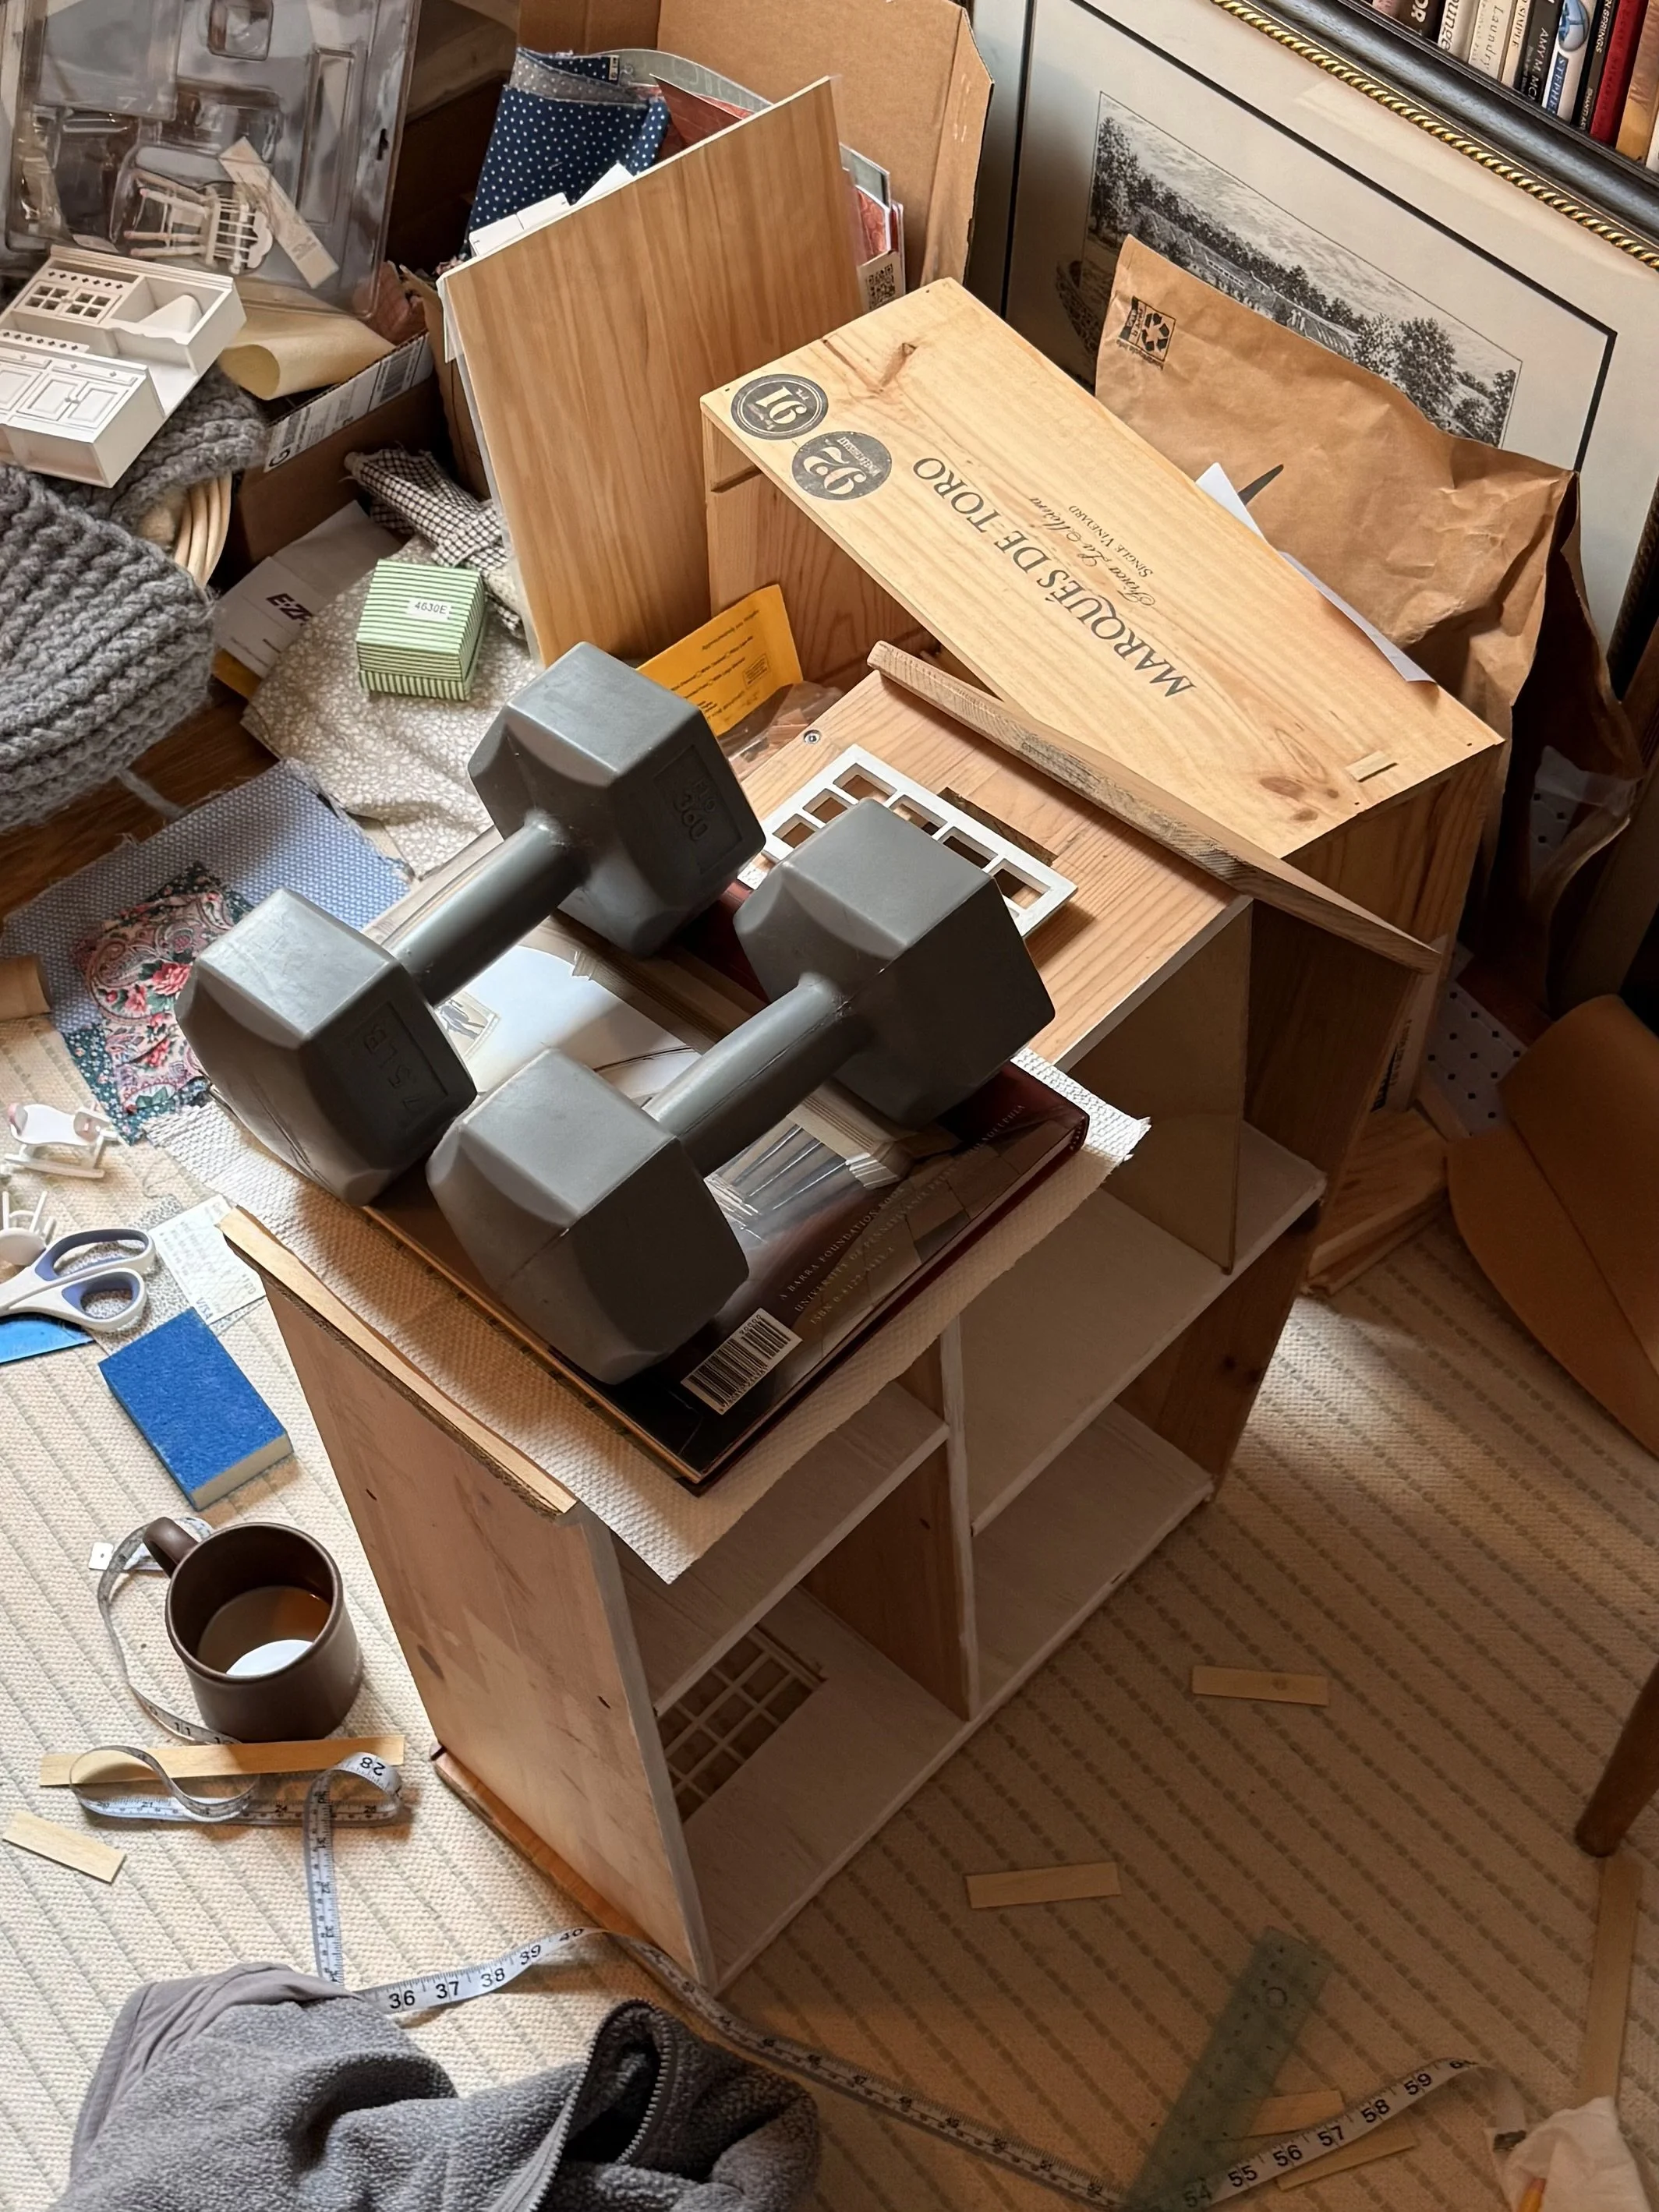
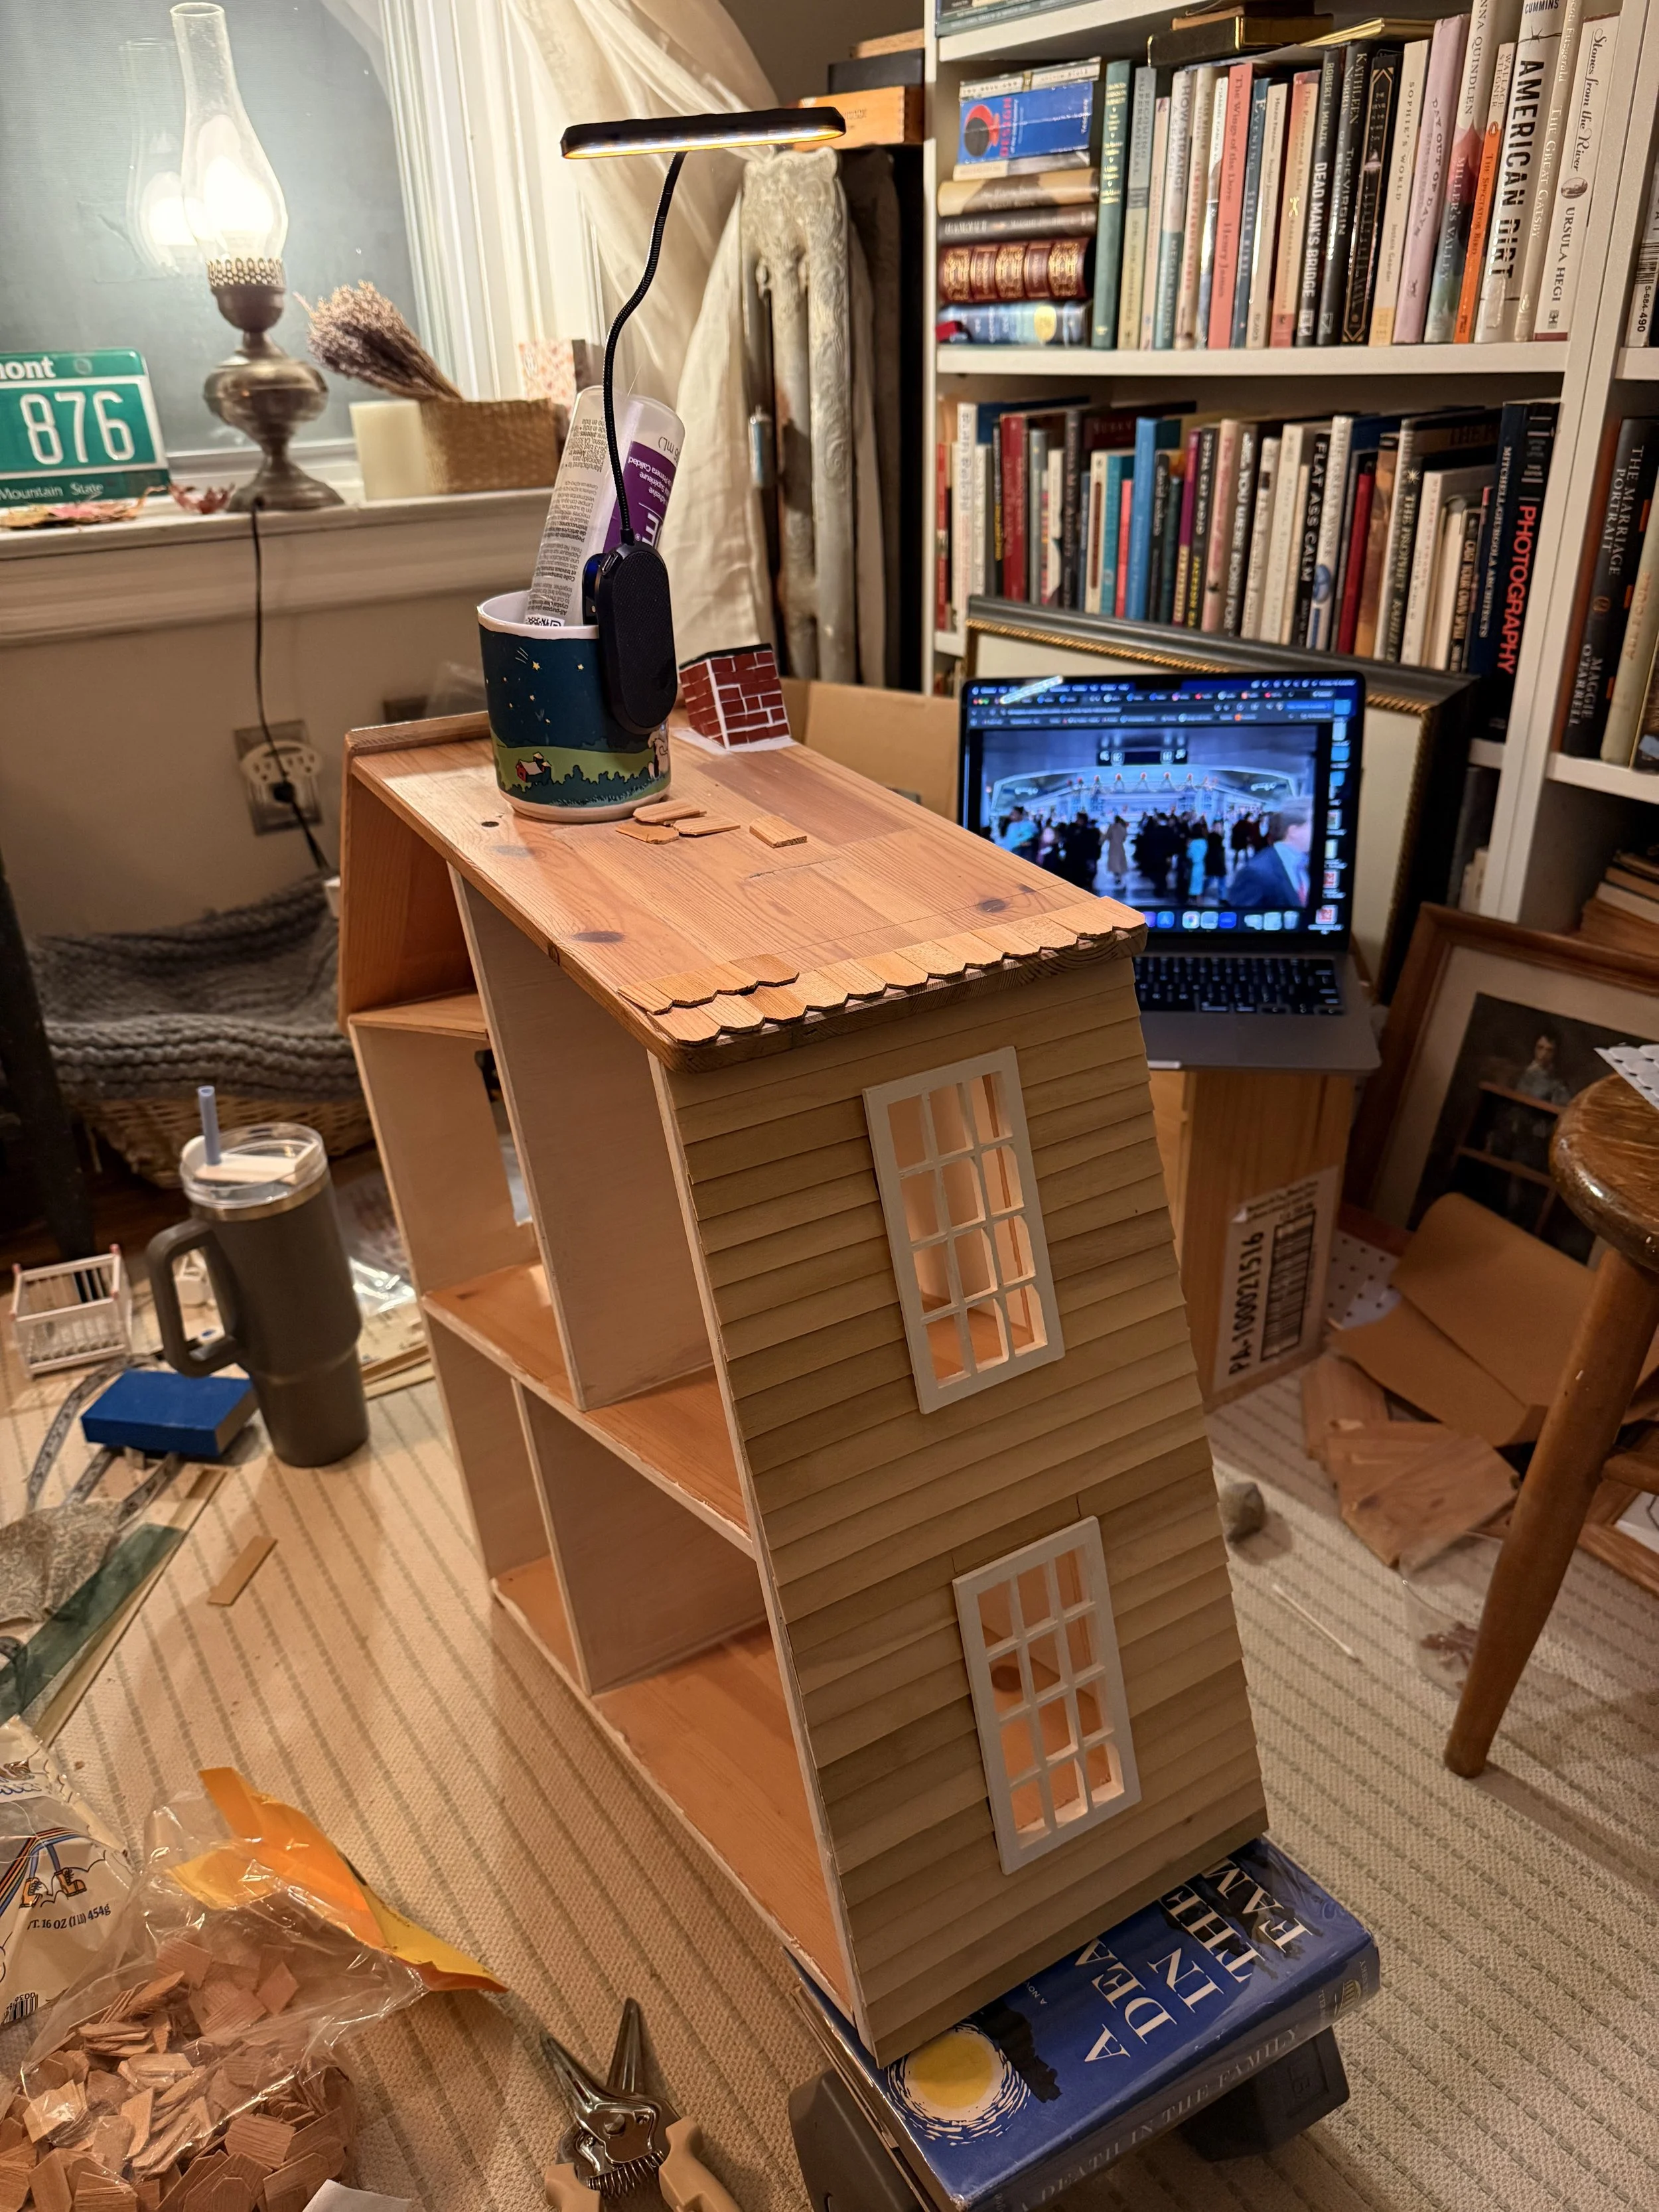
Installing the shingles
I had to prop the house up to make the roof level to apply the shingles, as I quickly realized that they would slide off ever so slightly while the glue was drying due to gravity. A book on top of one of my weights worked well. This was a time consuming process but very easy, the shingles were easy to trim if needed and I had plenty of supply for the whole roof.
I did not document the process of covering the chimney, but I painted over the original bright green color with white acrylic craft paint and the top black. This took at least three coats to achieve full coverage. I painted the cardboard rectangles brick red and adhered them to the sides of the chimney with tacky glue.
Installing the siding
I purchased the siding from this Etsy shop. At the time of writing this, this product is currently sold out, but similar products on Etsy should be available.
Tutorials that I had watched recommended using wood glue to adhere the siding to the body of the house. I personally did not find wood glue enjoyable to work with, so I quickly switched to tacky glue which held up nicely.
I applied the siding in sections and applied pressure while the glue dried by layering paper towels, a wide book and two seven pound weights.
The siding was soft and easy to cut, I used these kitchen scissors from Kuhn Rikon as they are extremely reliable and cut better and straighter than my regular scissors.